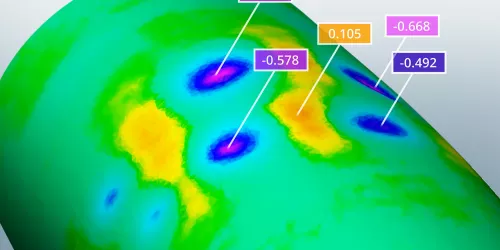
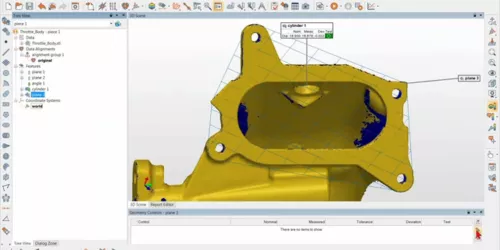
With this new technology, scan your parts and quickly display surface imperfections. Detect bumps, dents, and scratches, monitor part degradation over time, and locate missing functional elements, such as spot welds or rivets.
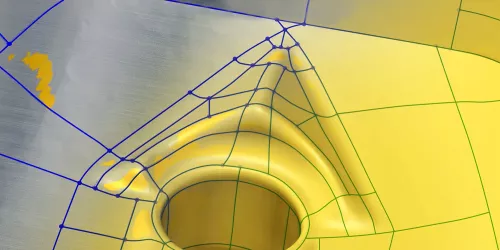
Discover a new groundbreaking automatic surfacing algorithm perfectly integrated within an intuitive curve-based surfacing workflow.
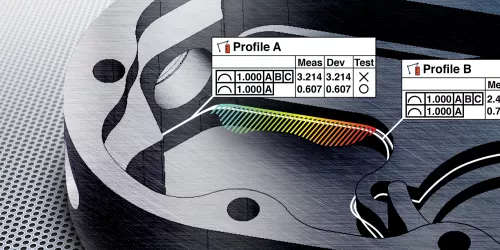
Learn how to efficiently measure and control sheet metal freeform cutouts and part sections by using the enhanced polyline creation and extraction tools along with the new GD&T-compliant line profile tool.
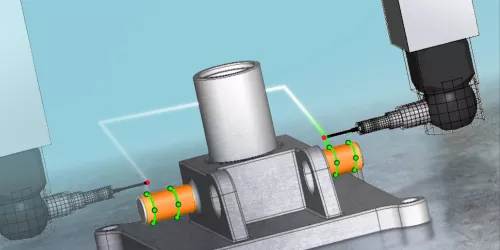
Discover how probing an object using multiple steps can greatly increase the flexibility and power of your measurement sequences with faster run times.
Learn the benefits of integrating PolyWorks® into your production environments.
Discover three preproduction tasks that greatly benefit from our latest innovations.
Let's explore how PolyWorks® can enrich your contribution to your enterprise.
When a part is inspected with the help of its CAD model, the CAD model is used throughout the project to align the part, extract features, and produce pass/fail results. When inspecting a part by scanning without using a CAD model, you go through those same steps obtaining measured-to-nominal deviations but using a different toolset.
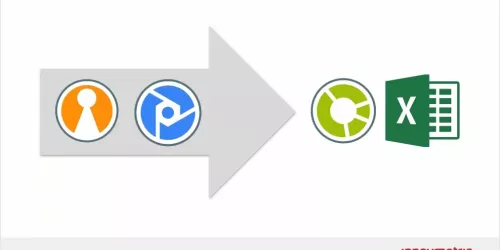
With the introduction of PolyWorks|ReportLoop™, a free Excel-based smart reporting solution, you can link spreadsheet cells directly to PolyWorks® inspection project data.


